We use cookies to make your experience better. To comply with the new e-Privacy directive, we need to ask for your consent to set the cookies. Learn more.
Toggle Nav

Search
Camouflaging Wildlife Cameras
Keeping your wildlife cameras out of sight while they are deployed in the great outdoors is important for a variety of reasons, both from the perspective that you want to avoid disturbing animals and in terms of ensuring that your costly bit of kit is not visible to the prying eyes of potential human thieves.
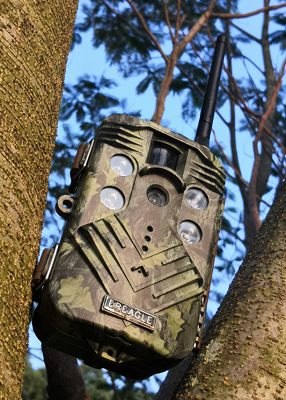
Of course, achieving this effectively is easier said than done. Most good wildlife camera models will be designed with a degree of camouflage, but even a fairly inconspicuous device will still probably need a few extra touches to make sure that it really does blend in as much as possible rather than attracting any unwanted attention.
With that in mind, here are some tips as to how to camouflage your wildlife camera insofar as possible, with both general and specific advice included to cover the majority of scenarios and settings.
- Considering The Camera’s Height
- Factoring In The Background
- Keeping The Line Of Sight Clear
- Have A Backup
- Use Natural Resources
- Adopt Artificial Aids
- Check Your Work
- Wildlife Camera Camouflaging Advice Round-Up
Considering The Camera’s Height
The temptation, when taking your wildlife camera out for its first foray into real-world use, may be to stick rigidly to the instructions provided and position it at a relatively low level on a tree, fence post or other supporting structure. There are a number of reasons that this is commonly suggested, not just because it will ensure that you get the best snaps, but also because it makes the camera easy to access when you return to check on it, download images and adjust any settings.
Of course, the problem with positioning your camera within arm’s reach at eye level or perhaps even lower down is that it will be far more obvious to any observing individual, animal or otherwise. Curious creatures that dwell on the ground will spot it and either interfere or make good their escape if it is very low down.
The solution is, of course, to choose a higher position at which to place your camera, making use of a ladder to install it. This will overcome the issue of it being simple to spot but will introduce some new complications. Firstly, it will need to be angled downwards rather than being pointed straight, which means that you need to take care to frame your intended area of surveillance correctly. Secondly, you won't get the eye-level shots that you are hoping for, since the downward trajectory of the camera’s view will have an unavoidable effect.
The good news is that because most high-quality wildlife cameras come with built-in displays, or even offer connectivity capabilities so that you can review what they are capturing in real-time on a smartphone or computer, you will be able to set up the shot as precisely as you wish rather than simply crossing your fingers and hoping for the best when positioning it.
Factoring In The Background
The next element to consider when choosing where to set up your wildlife camera is the kind of backdrop it will be mounted on and displayed against.
Plain, single-colour surfaces such as painted walls or brick structures are clearly not ideal, since a camera will be entirely conspicuous irrespective as to how high or low you have chosen to mount it. To take full advantage of any camouflaging on the camera’s exterior, you need to ensure that the background is similarly disruptive.
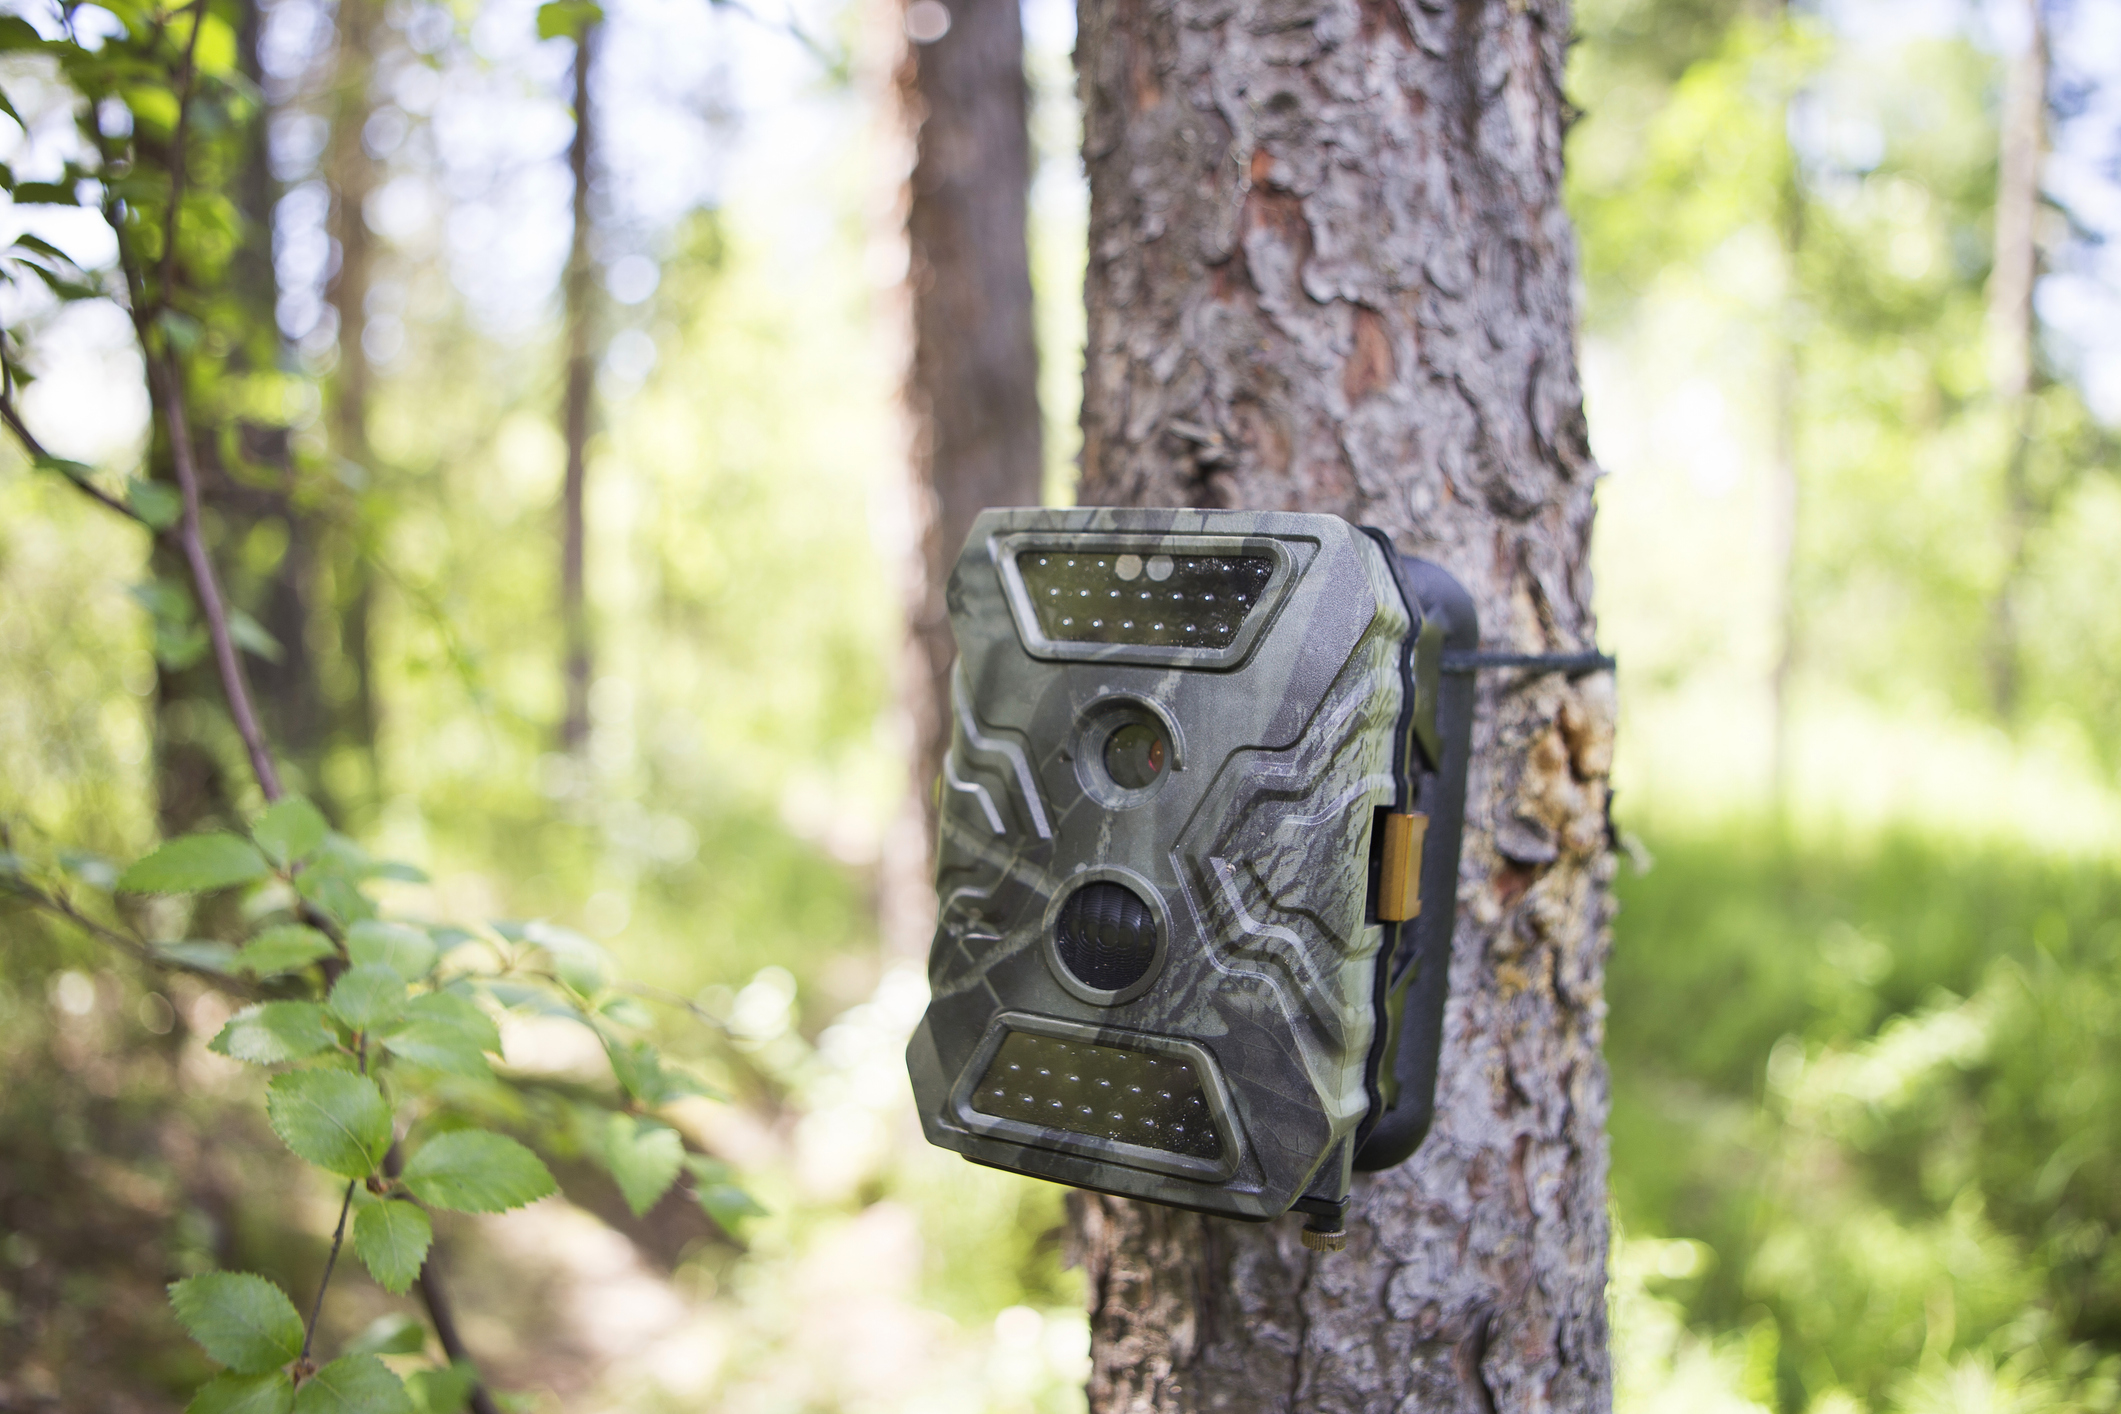
Matching colours will obviously help, although it is not essential since animals have very different vision to humans. More importantly, you need to choose a setting which has a good deal of variety in shapes, textures and tones. A hedgerow, a tree trunk or an ivy-covered wall is a good example of the kind of backdrop that works best.
Wildlife cameras will be harder to see if they are not contrasting with any aspect of the background but are, instead, simply a single element within a broader, chaotic array of visual components.
Keeping The Line Of Sight Clear
At this point, it is probably worth reiterating that although your camera should be camouflaged against its background, no element of its surroundings should get in the way of the lens and the LED light array that it will no doubt feature.
Avoid the temptation to pop a few leafy twigs across its field of view, even if this makes it much harder to see; you will only end up with images that are obscured or otherwise compromised by your efforts to camouflage it.
If you are in any doubt as to whether or not your camera is obstructed by its surroundings, it makes sense to fire off a few shots after you have set it up and check these immediately to ensure that you are happy with the results. This will enable you to make any necessary changes as soon as possible, which is preferable to belatedly discovering sight issues a few weeks or months down the line when you return to download the images.
Have A Backup
If you are choosing to hide your wildlife camera for security reasons, there is no way to be absolutely certain that it will not be discovered by a thief. One way to even the odds is to set up not one wildlife camera, but two.
To make this configuration truly effective, make sure that each camera has the location of the other within its field of view. This will mean that if one is snatched, the other will be triggered by the act and you will have evidence of exactly what went on, together with images of the culprit!
Having a secondary camera in the same area will also mean that it is far less likely that a thief will keep looking for more kit after they have stumbled across the first one.
Use Natural Resources
Although it is necessary to keep the camera’s field of view clear of obstructions, as previously discussed, you can still improve its camouflage by turning to the natural assets that are commonplace in most outdoor areas.
For example, the outline of the camera’s shape is a giveaway as to its whereabouts which can be mitigated through the use of moss, mud, tree bark, leaves and other detritus found on the ground. Since wildlife cameras are designed to be durable and weatherproof, a little bit of greenery applied to the outer surface will cause no harm to them.
Adopt Artificial Aids
Products designed specifically to provide additional camouflage to equipment of all kinds are available to buy.
One popular example is known as Cambush, a tape-based camouflage material that is synthetic yet has the same properties that you would expect of the natural resources mentioned above. It can be applied to the outside of a wildlife camera to give it a much less distinctive design, while also altering its colouring to blend in against trees and hedgerows.
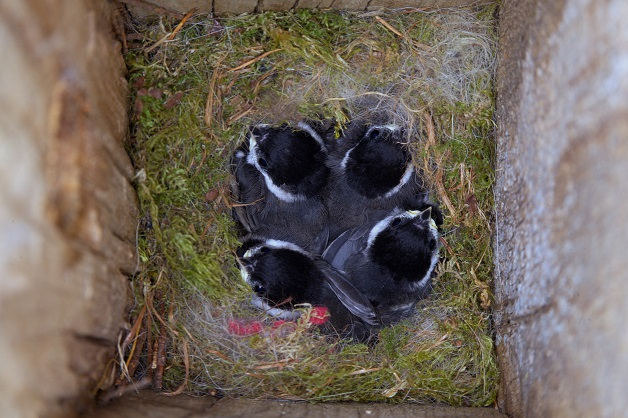
Another popular way to hide a wildlife camera is to install it in a bird box; this can be an effective disguise. Passers-by are unlikely to take a second glance at a plain wooden box nailed high in a tree, meaning that if it is actually a shroud built to protect and camouflage a costly camera housed within it, the risk of the equipment being noticed or investigated is significantly reduced.
If you are feeling creative, you could add some paint to the outside of your wildlife camera for the purposes of improving its camouflage. This is a more skilful task than you might think, but it could be the only way to go if the backdrop against which the camera is to sit is not in keeping with the manufacturer’s existing camouflage paint job. If you are using paint, make sure that you pick a variety that will not compromise the camera’s body in any way, while also keeping paint away from the lens and any connectors. Masking important sections with tape prior to painting is a good way to avoid any issues.
Whatever steps you take in using extra materials to camouflage your wildlife camera, remember that in most cases it will be unnecessary to worry about the rear surface of the device. This is because after installation it will be pressed flush against the supporting structure, making it invisible to the rest of the world.
Check Your Work
Putting in all this effort to camouflage a wildlife camera is all well and good, but if it transpires that it is still easy enough for a third party to spot it, your efforts will have been in vain.
It is unlikely that you will be able to determine its true visibility since you know exactly where it is. It's hard for any of us to check our own work. Rather, ask a friend or family member who was not present during the installation to see how easily they can identify it.
Ideally, choose someone who is not familiar with wildlife cameras. This will make for an impartial test of your hiding place and should reflect the likelihood of detection by casual passers-by.
Camouflaging Wildlife Cameras Indoors
If you decide to place your camera indoors for whatever reason, any woodland camouflage will clearly be ineffective and, quite possibly, counter-productive. Thankfully there are still some tactics which should give you the edge.
Disguising your camera will be far easier if it is placed in amongst other household clutter, again out of the eye line of an adult to prevent it from being conspicuous during a cursory glance around the room. If you have shelving full of books, ornaments and other objects, a boxy camera unit will fit right in and should be quite difficult to detect if the observer is not actively looking for it.
You can go one step further by placing your camera in a cardboard box and cutting a hole large enough for the lens to have a good view of the room beyond without drawing attention to itself. There is nothing more anonymous in a household context than a cardboard box and a valuable camera should remain camouflaged indefinitely in most cases if you opt for this approach.
Wildlife Camera Camouflaging Advice Round-Up
Using the above suggestions, you should now be able to install a wildlife camera in almost any setting and ensure that it is correctly camouflaged to protect it from prying eyes.
As one final reminder, you should make sure that the camera is positioned out of a human’s eyeline and set up its field of view using the built-in display or a separate device to get the best results from an image capture perspective. You should remove any potential obstructions from the lens’ line of sight and make use of additional materials to improve its camouflage if necessary. The backdrop should not be plain, whether it is being set up indoors or out. With all this in mind, remember to get help from a friend or family member to determine whether your camouflaging efforts have worked.