We use cookies to make your experience better. To comply with the new e-Privacy directive, we need to ask for your consent to set the cookies. Learn more.
Toggle Nav

Search
Cleaning the Ltl Acorn Switch
Dealing with damaged trail cameras from any manufacturer is something that owners of equipment of this kind will become used to. In fact, if you familiarise yourself with the most common issues, you will be able to address them at home without the need to rely on costly repair services or an expensive replacement.
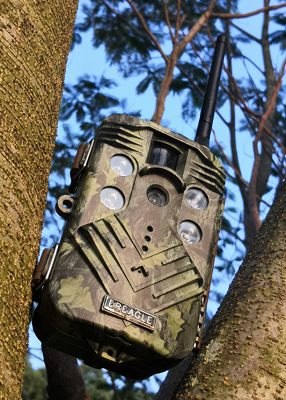
Here we take a quick look at a known issue that affects wildlife cameras made by Ltl Acorn. This primarily relates to the switch which changes the power settings of the unit itself and while it is known to affect products from this manufacturer, it can also apply to a number of other brands.
The Fault
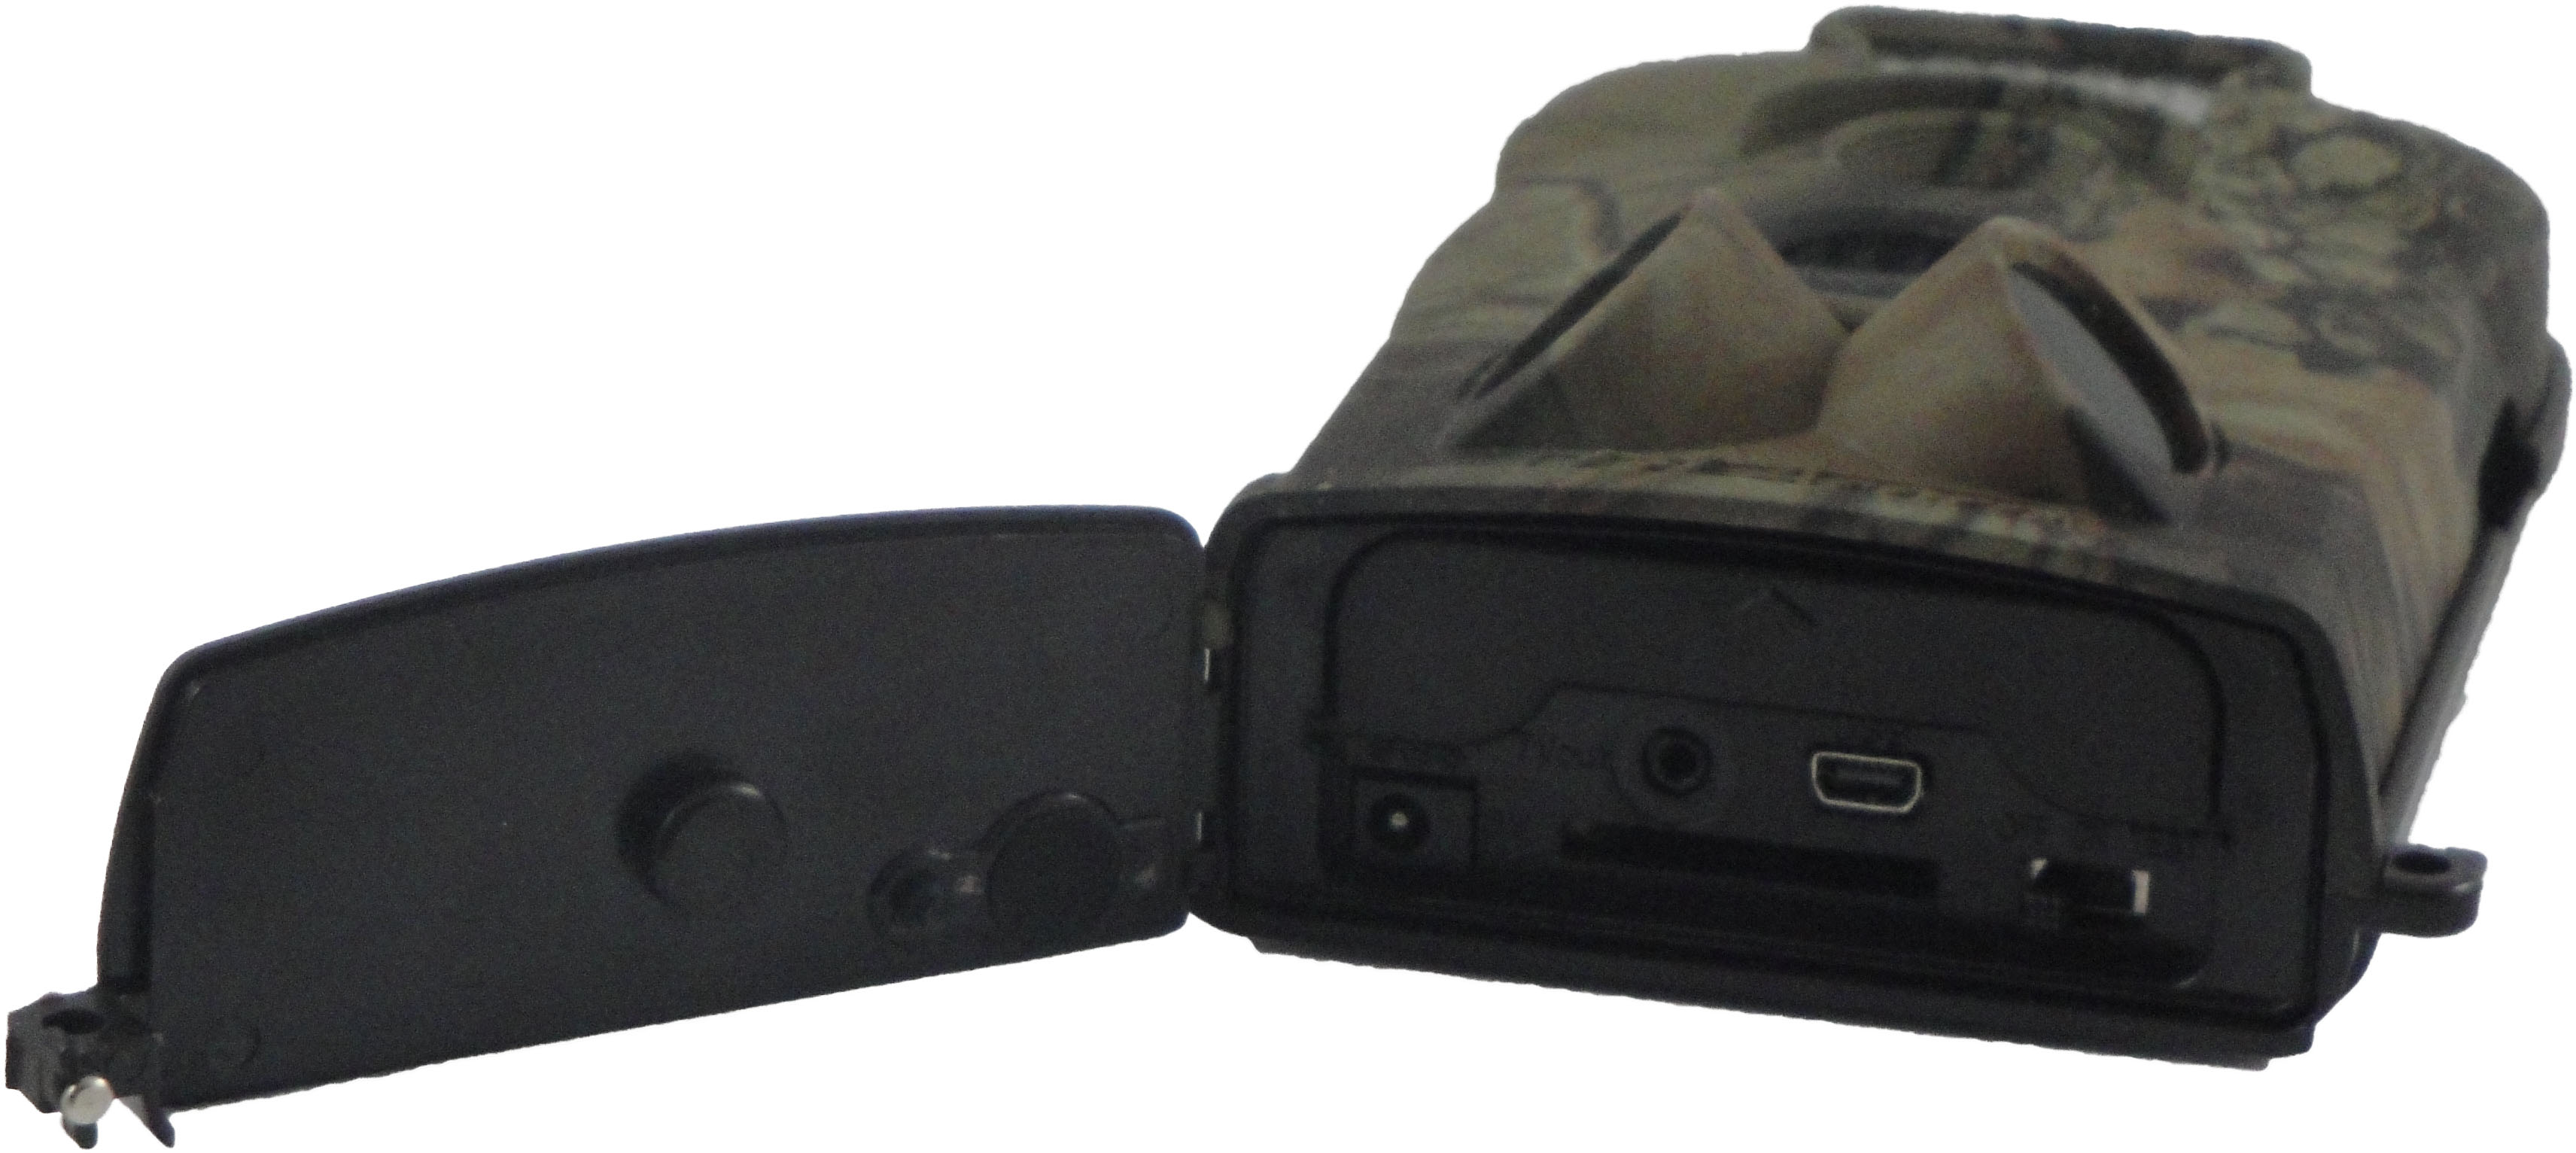
If you find that the switch of your trail camera is not working as it should, displaying a blank screen when it is shifted to the TEST position from either of the two other modes, the contacts in the switch assembly itself may be to blame.
Simply look at the front-mounted LEDs configured on the camera and flick the power switch over to TEST to detect this fault. Seeing the bulbs illuminate 13 times after doing this will be a clear indication that TEST mode has not been activated properly and instead the camera is now in its ON setting, regardless as to what the switch position might otherwise indicate.
The Cause
The most likely culprit is moisture from the atmosphere. This has a habit of getting into the switch assembly and compromising the way that the contacts are activated.
As you will no doubt be using your Ltl Acorn camera in outdoors environments, moisture will potentially find a point of ingress at some stage, even if the camera is fairly well sheltered from the worst of the weather.
The Solution
If you are planning to fix this fault yourself, the process is very simple and in most cases will resolve the issue without putting the rest of the camera’s hardware in jeopardy.
1. First and foremost, you need to take out any batteries that are powering the device before you begin. This will limit the risk of shorting or of further complications arising.
2. Next, you need to invest in a suitable contact cleaning solution, a number of different brands of which are available. Deoxit D5 from Caig is a popular option in this category and comes in a pressurised can complete with an applicator extension to allow it to be precisely sprayed at problem spots. WD-40 is also appropriate and since most people will already have a can lying around somewhere, this is a popular option.
3. With your cleaning solution to hand, take the camera and apply a brief squirt of the liquid into the switch itself while it is in the OFF position. Move it to the TEST position and repeat the process, remembering to keep the camera in an inverse orientation so that any excess solution can seep out, rather than remaining in the chassis.
4. After the solution has been applied, the switch can be moved slowly through its various positions a few times, allowing it to get to work and removing any of the corrosion which may have built up due to moisture contamination.
5. Once you're satisfied that any excess solution has dropped out, you can re-install the batteries and test to ensure it is working correctly.
Maintaining your trail camera in this way should keep it up and running smoothly. It is worth checking on a quarterly basis for any faults which will otherwise become more problematic if left.
Further Water Damage Dilemmas
If your Ltl Acorn trail camera has become truly waterlogged, rather than suffering minor moisture-based corrosion, all is not lost. Even entirely submersed gadgets can be revived with a little work.
Removing the batteries and any other power source is clearly essential in this situation. Allowing the device to dry out insofar as possible is the next step. Use kitchen towel to dab away excess drips and disassemble it to a degree with which you are comfortable to allow for as much drainage as you can. Using compressed air to blow out moisture from hard to reach areas is also helpful. If you have an airing cupboard, a couple of days in this dry, hot environment may work wonders.
The longer you leave your camera to dry out, the better the chance you will have of bringing it back to life. Remove debris and signs of corrosion with suitable products designed for this task, then reassemble it and hope for the best.
Professional repair people may be able to fix any faults that you cannot tackle at home and if there is no hope, an affordable trail camera replacement will be the ultimate solution.